Meal planning is something that has been written about often and, in my opinion, way overcomplicated by many. I’m sharing this to show how I do it easily for my family in a way that doesn’t take a bunch of time or effort. It isn’t fancy but it is effective.
For me, I always need to know WHY I should be doing something before I would ever put any effort into doing it. My whys: Meal planning helps me to save time, save money, have less stress, and have less waste. The weeks I don’t meal plan sometimes wind up with me coming home from work to frantically rummage through the fridge and pantry attempting to put whatever I have on hand together in a way that somewhat resembles a put together meal. Basically, I’m playing “Chopped” in my own kitchen with my husband and children as the judges.
When I meal plan, things go so much better. I come home work and execute the plan I had. If Beast beats me home, he can check the plan and get started on dinner too. No one attempting to make something out of nothing each and every night.
So here is how I do it. I usually meal plan Sunday nights because I’m off on Mondays and can get groceries for the week then, if needed. I typically do this while Beast and I watch Sunday Night Football or some other show so I can hang out with him, get his feedback/ideas, and not feel like I’m off doing this all on my own. A regular time helps make sure you get in the habit of doing the planning regularly.

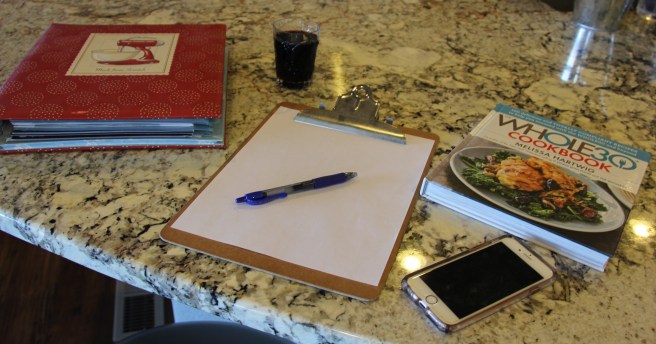
What you need:
- Glass of wine
- Clip board
- Place to hang the clipboard
- Blank paper
- Binder for saved favorite recipes
- Go-to cookbook
Meal planning steps:
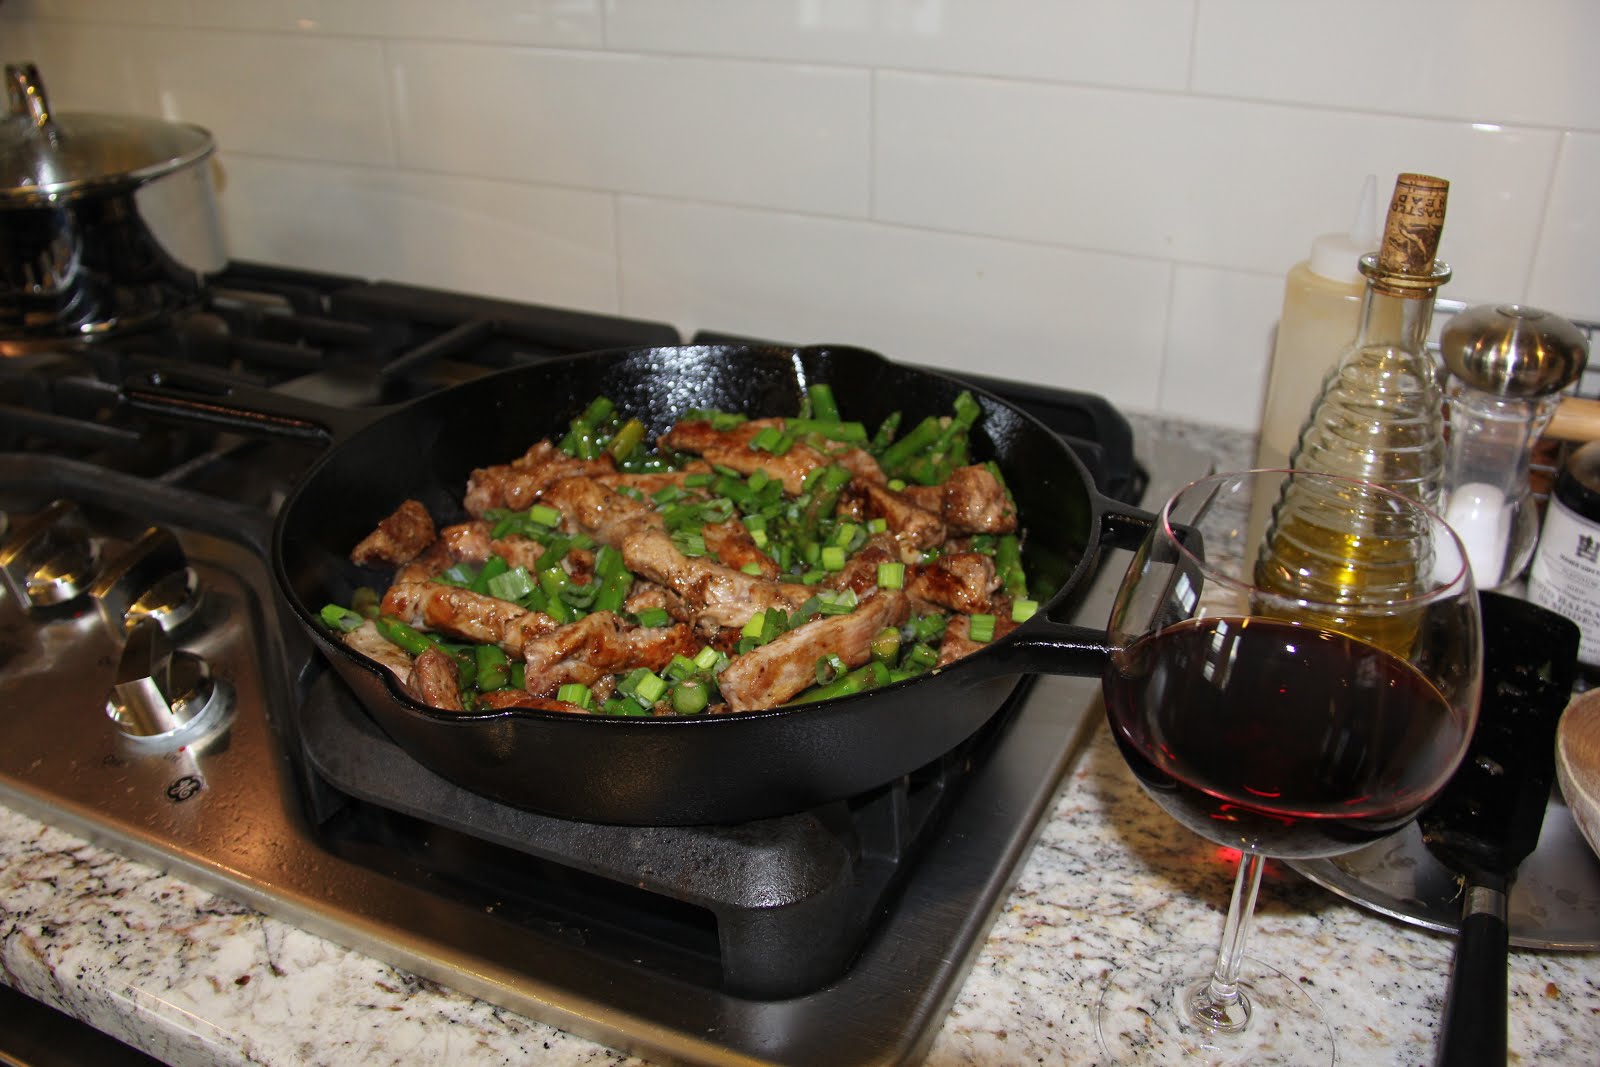
- Pour yourself a glass of wine.
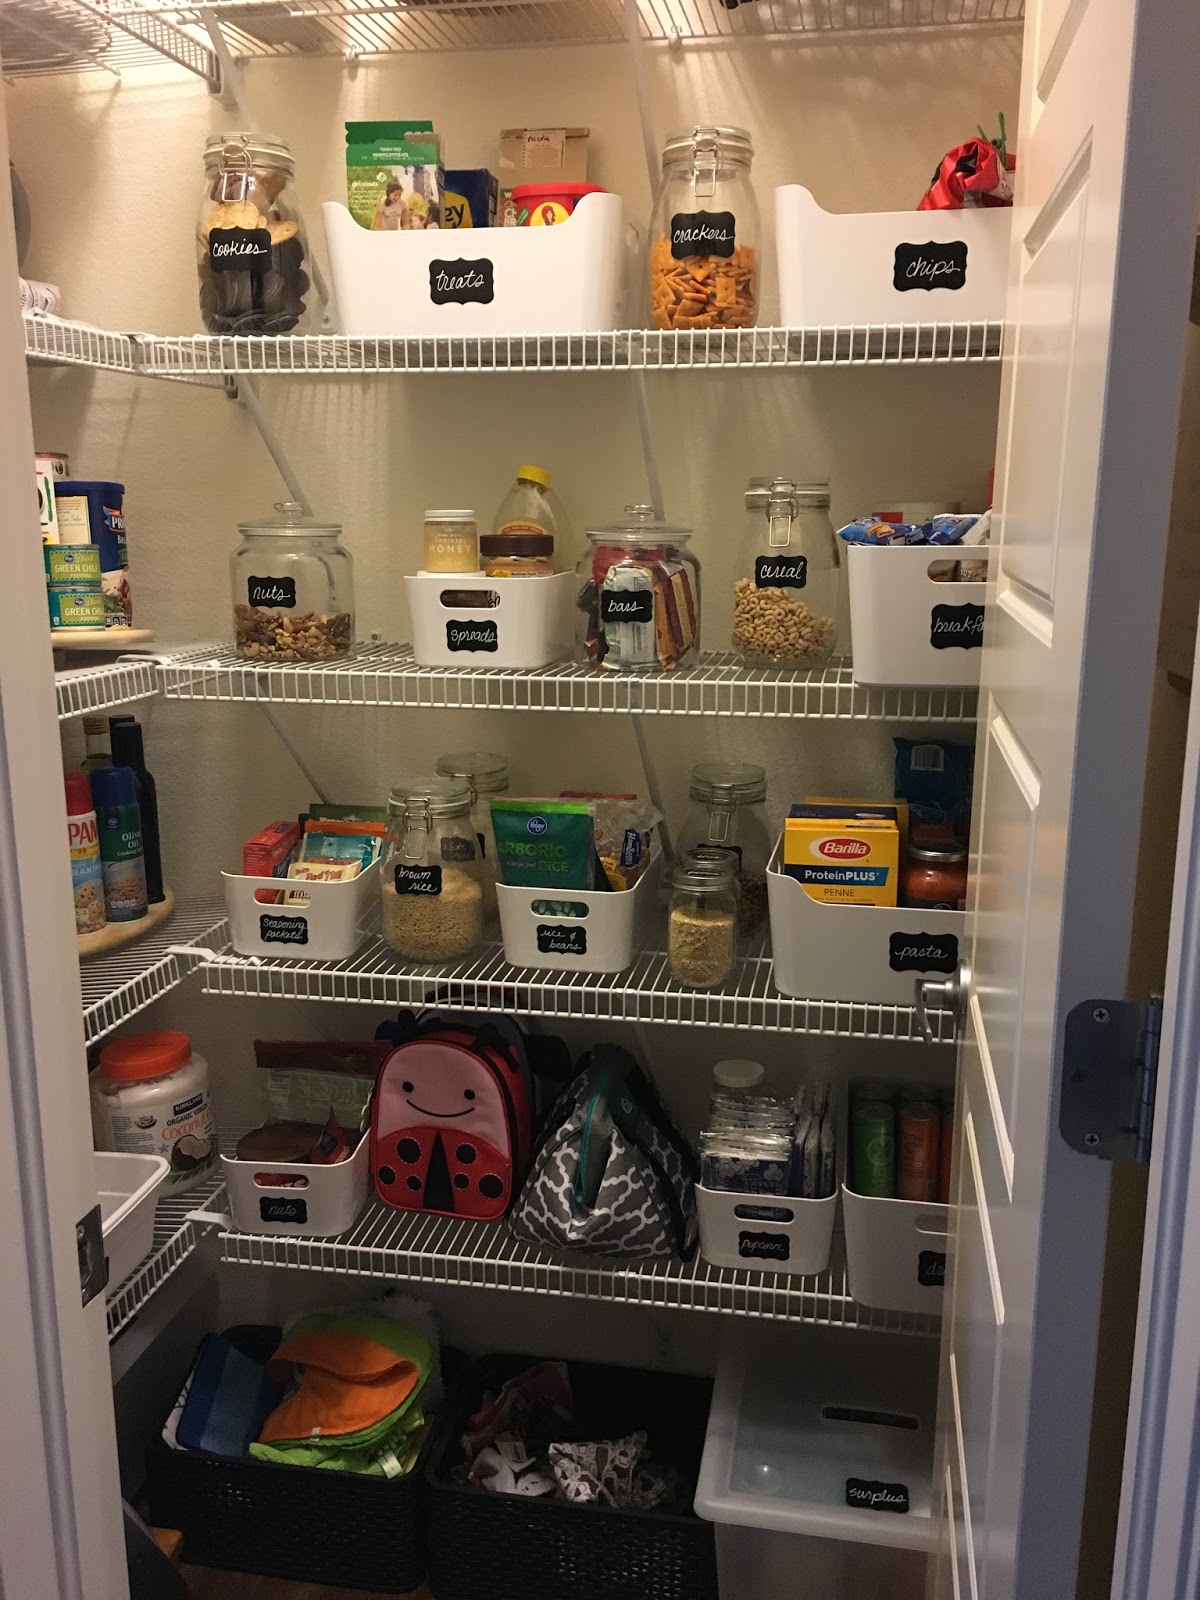
- Stand in front of the fridge and pantry to take a quick look at what you have on hand already and need to use. Jot these down on the corner of your paper if you need to.
- Take a seat and spread out your paper, go-to cookbook, and recipe binder.
- Outline the meals you need to plan for the week and any special circumstances for those meals. (Work events, people coming over, celebrations, eating out, etc.) If you have a spouse or partner, this gives you a chance to do a quick run down of the week to make sure everyone is on the same page about what is and isn’t going on.

- Put down any meals you already have the groceries for and can easily put together.
- Pick meals out of your favorite recipes binder or go-to cookbook for any of the single items you have on hand that need to be used. Put these earlier in the week since these items are likely older than what you will purchase for the week.
- Ask your family if there is anything they would like to have this week (optional). Don’t do this unless you are really willing to write down their requests. I usually ask Beast (after the kids have gone to bed) if there is anything he’s craving for dinner this week.
-

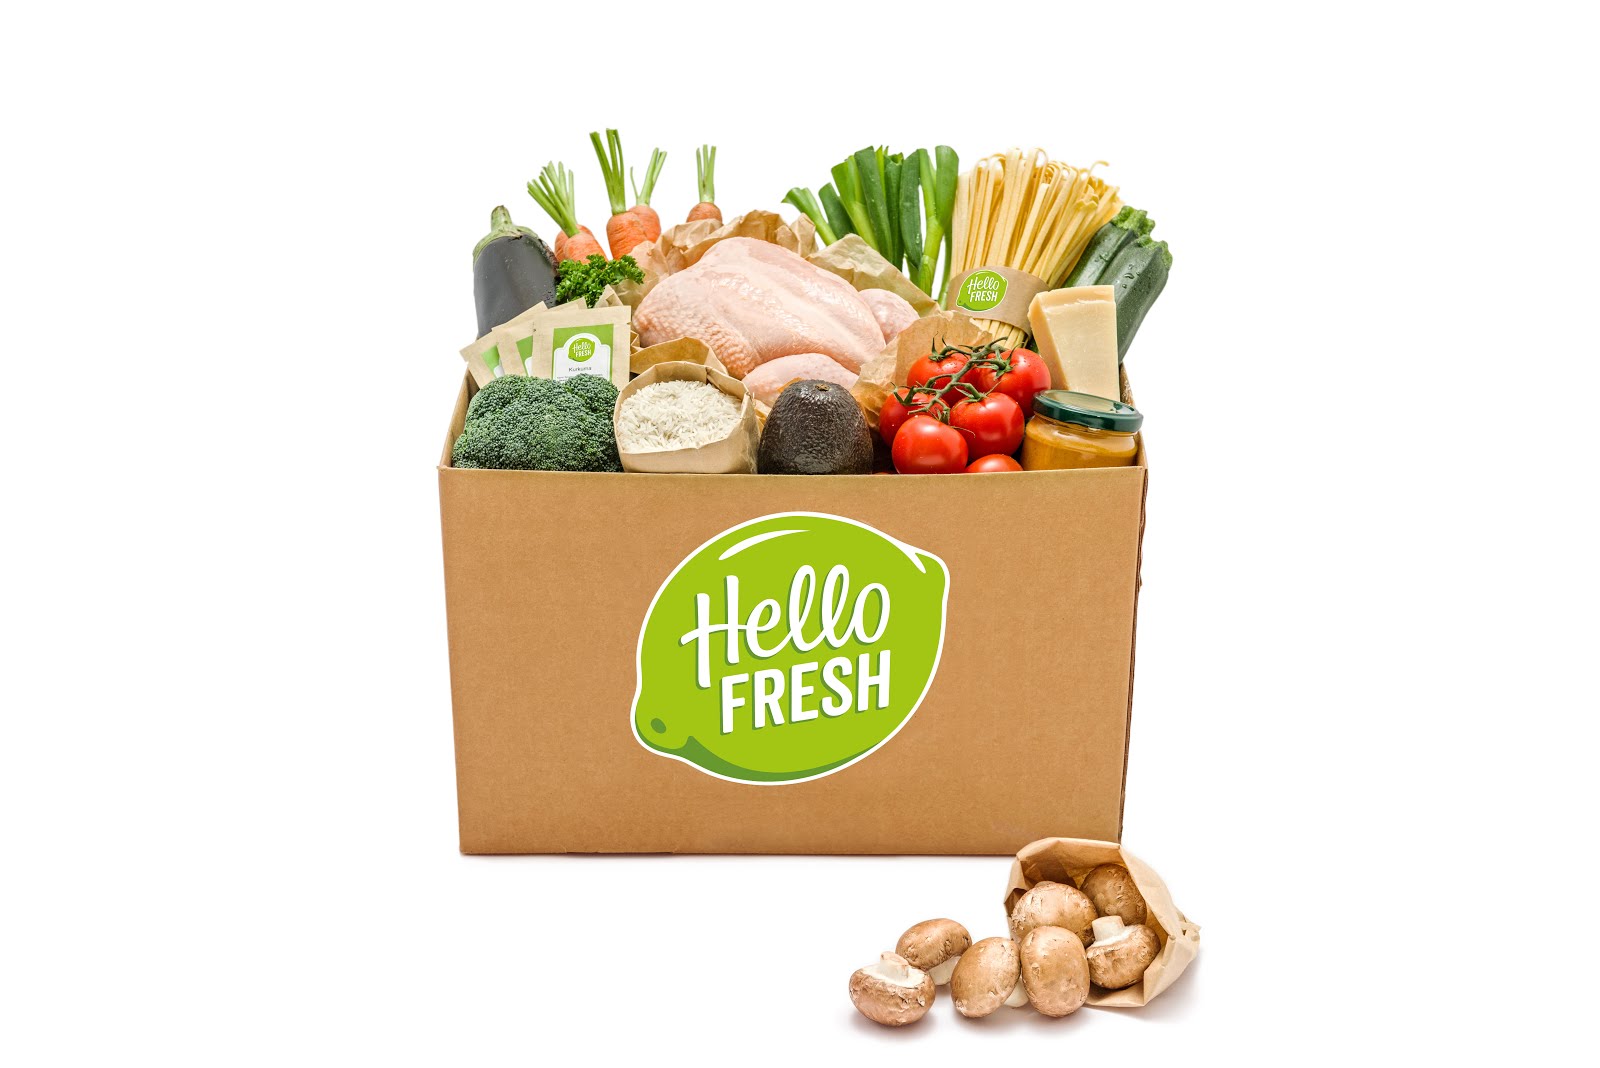
I save my Hello Fresh recipe cards so I can recreate them on my own later. Put down one or two of your “regular rotators” (meals that you make well and easily that are loved by all). My examples would be my go-to taco meat or my go-to pasta sauce. We usually have one of two each week. If I skip a week, I’m asked when we’ll be having it next, which I don’t mind since both are full of hidden veggies.
- If you are new to cooking regularly or like to have a break occasionally, add a “bring home” night for someone to bring dinner home. I frequently have Beast bring dinner home on one of my work nights to give me a break from making dinner and also give me some extra time with the kids. Our favorites are Panera, Chipotle or Qdoba, a local Greek restaurant, a local Italian restaurant, or our favorite sushi place (for celebrations).
- Fill in the holes with things you are craving or want to try from your binder or go-to cookbook.
 Saved recipe binder
 Tabs to organize
 - Put items you need to complete each of those meals on your grocery list as you go.

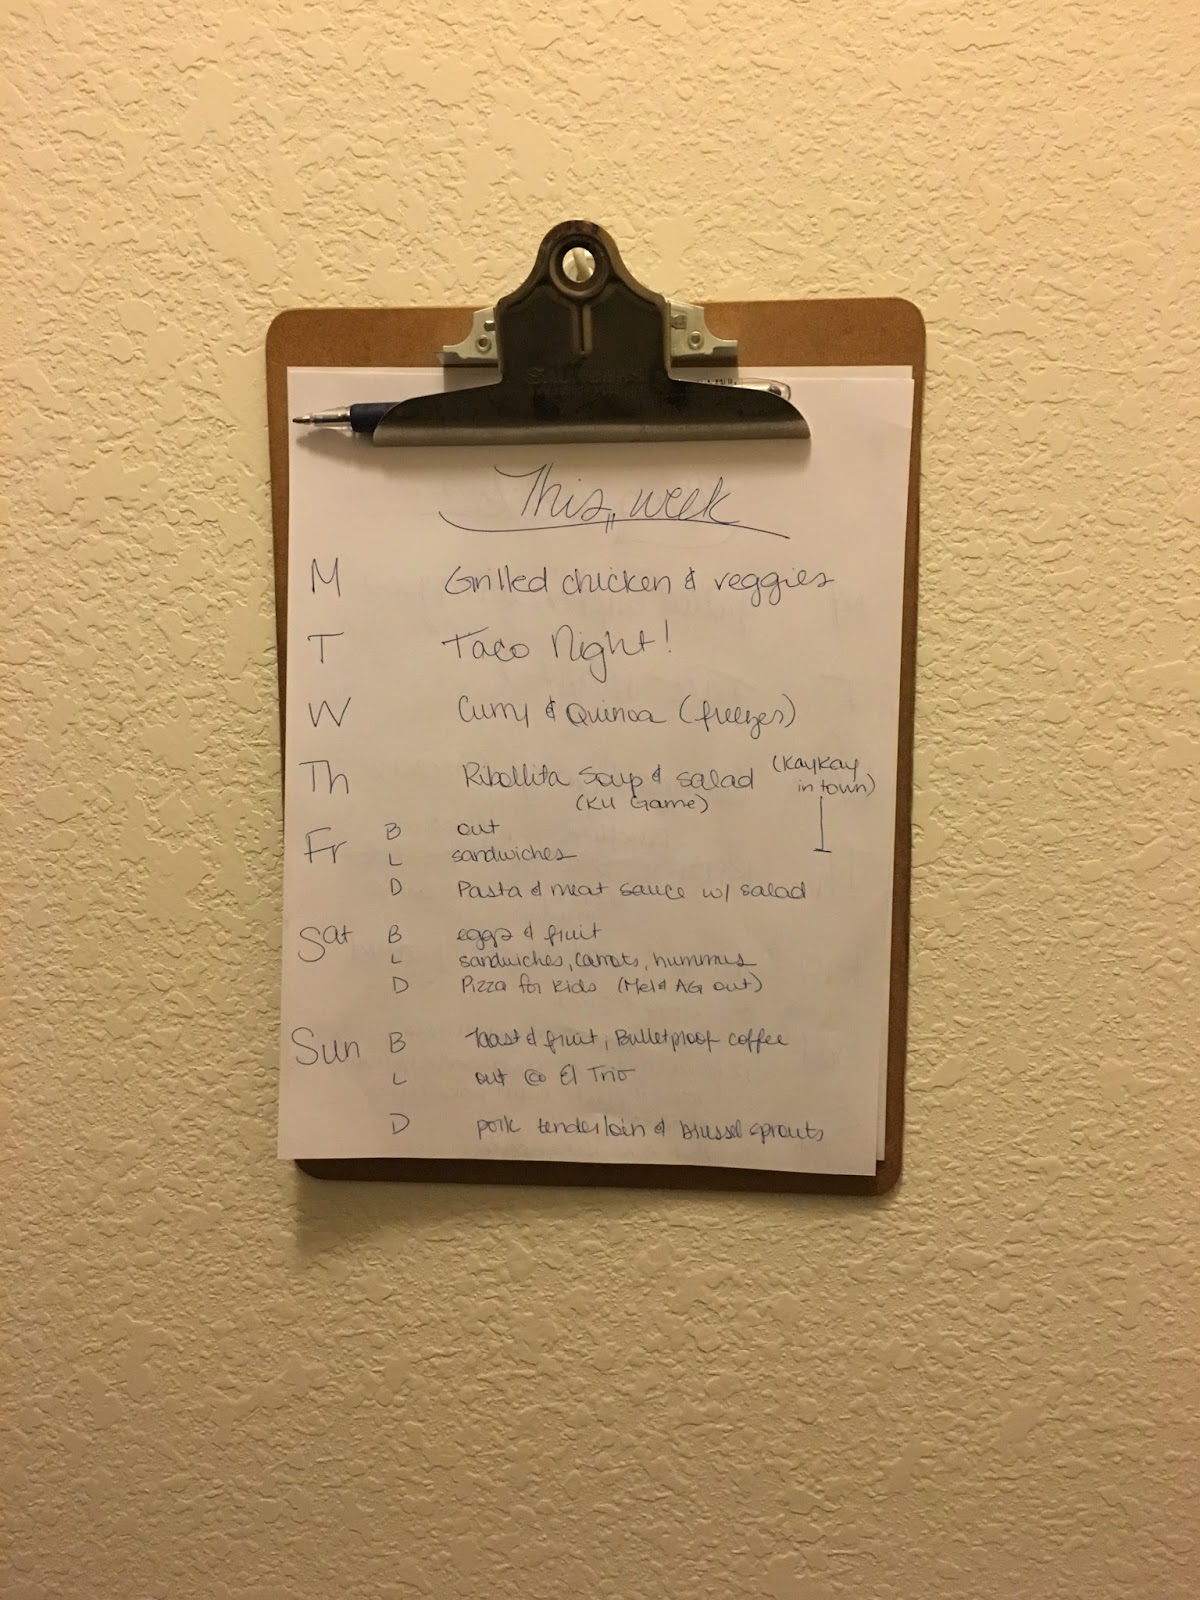
I keep my plan behind the pantry door. - Make sure to tuck any recipes behind your plan on the clip board or write the page numbers from your cook book to make finding recipes easy.
- Get what you need from the store the next day (either in store or through a pick-up/delivery service).
- Execute your plan.
What can help:
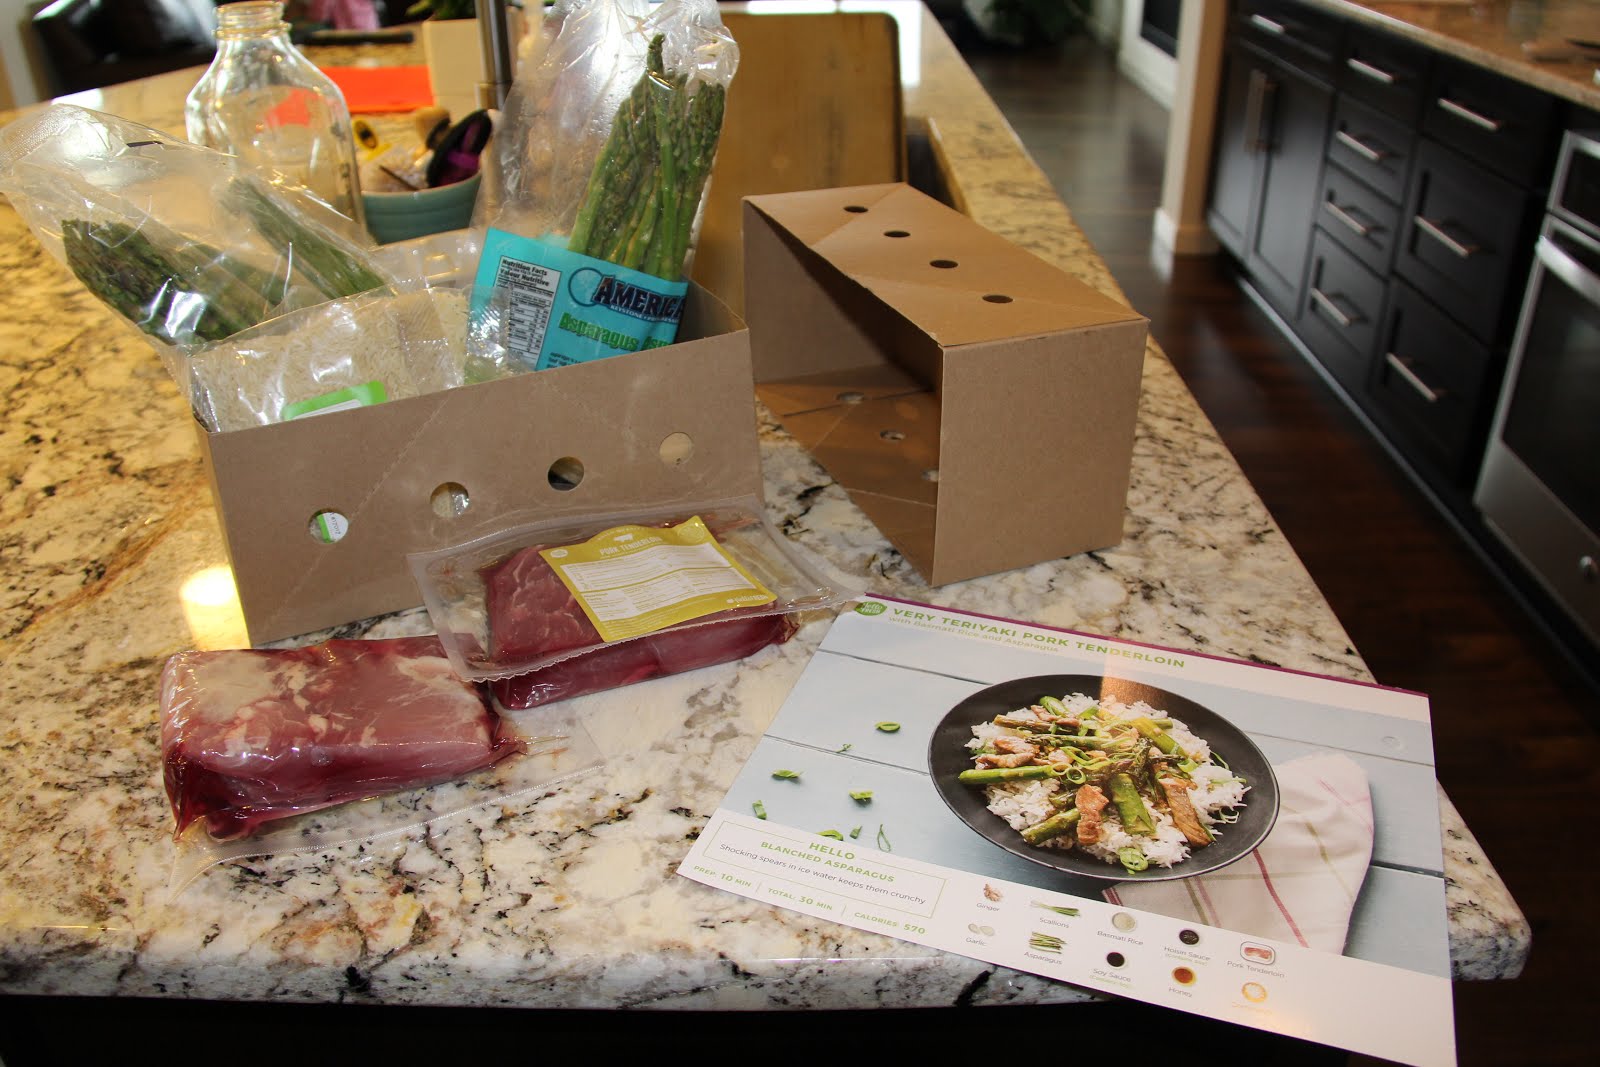
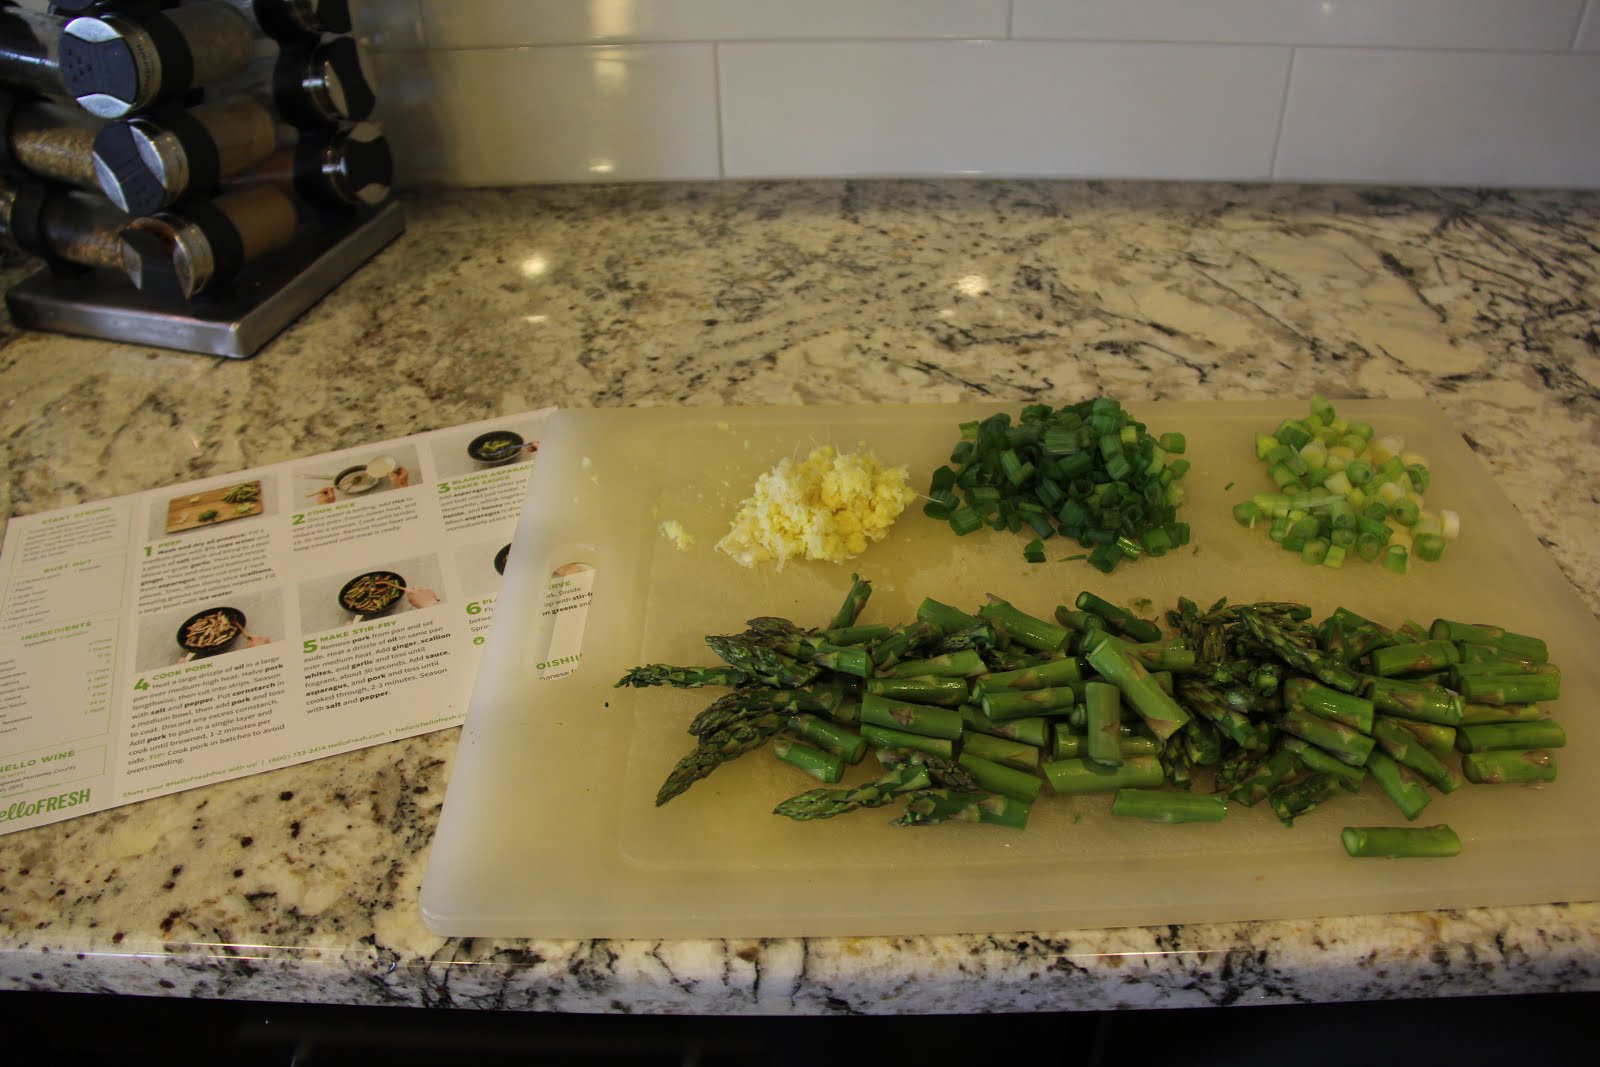
- Try a meal delivery service once a month: This gives you recipe cards for your binder and also gives you a break on the planning once a month. We use HelloFresh once a month for these exact reasons and you can see more about why we love it here.
- Have a household grocery list: Beast and I use the Reminders app on our phones to make a grocery list so we can both add things to it and check things off of it once they have been purchased. AND, most importantly, if one of us is going to the store, we make sure to get everything on the list. This makes it really easy not to forget items you need because whenever you realize you are out of something you can easily add it to the list and make sure you get it the next time you’re at the store.

Recipes below the plan. - Use grocery shopping or delivery services when your time is limited to go to the store. If you’ll be doing this, just add items to your order instead of your grocery list as you meal plan. I use either ClickList from Kroger/Kings Soopers or Walmart To Go occasionally and both are great. Yes, I let them pick my meats and fresh items and yes, I’ve been very happy with the result. They probably pick some items better than I do.
- Be flexible. If you come home later than expected and don’t have time for X that you have planned, make Y (the quick meal for another day) and draw a double sided arrow between the two on your planning sheet. Problem solved.
- If you are new to cooking or meal planning, plan out two or more weeks and just repeat them over and over until you have additional recipes you want to add in.
- Build in meals to “clean out fridge.” You can use these meals to clean out the leftovers. We call these “smorgasbord” meals. We heat up our leftovers and put everything out on the table. Then everyone gets a chance to have what they liked best the last few days. This helps to make less waste and more space in your fridge.
And in no time, I have enjoyed a glass of wine, talked through the week with my hubby, and planned our meals for the week (saving time, money, and sanity).

Happy cooking!
 planning binder. The ingredients are all very easy to get at any grocery store. I can thumb through my binder while meal planning, pick out something that sounds good, and quickly add the ingredients to my grocery list. I love this because it helps me branch out to new recipes so I don’t fall into a rut of just making the same 8 meals over and over each month.