My Recommendations for Kid Ski Gear: Primary.com and Epic Mountain Gear

Beast and me in 2012

Before kids, Beast and I used to get 20+ ski days in a year. With little kids it is a lot harder to get up the hill so we have been rather impatiently waiting for Ladybug and Bear to be old enough to start skiing. We did a single ski lesson for them in 2019 at Keystone Resort. It was fine but very expensive. Each time we spied on them, Ladybug was sitting and eating snow so we were’t so sure that we were getting what we paid for. This year, we signed them up for a 4-week Kids Club session at Arapahoe Basin. Bear is in Kids Club and Ladybug is in Little Kids Club. I have been really impressed with their progress and how much they are enjoying lessons! The cost is also much more reasonable. In addition, Arapahoe Basin has been our go-to ski resort since we were in college. (At one point we were known by name by one of the bartenders and had our own mugs each year behind the bar.) The food, drinks, and coffee are all very good too (including the raw bar on Sundays) so it is an overall win for everyone!

At the drop off each week it has become pretty clear that many parents struggle with finding the right ski gear for kids so I thought I would share the items we have found (after some trial and error) that work extremely well.

My two main pieces of advice:

  1. Do not overdress the kids. I can still remember the ski instructors I had as a kid getting frustrated when kids were overdressed. If kids get overheated and then sweaty it is really hard to keep them warm the rest of the day. It goes better if you focus on keeping the core warm and everything else covered.
  2. Let the kids pick out their gear as much as possible. It is a lot easier to get all of that on them when they like the colors/patterns. A few of the things my kids picked out do not exactly match or were not exactly what I would have picked but they happily put them on which makes my life easier.

Gear: All purchased at Epic Mountain Gear

  • Skis and boots: Epic Mountain Gear has a fabulous program for kids called their Junior Trade Program. We bought used gear at a reasonable price as part of their Christmas present and then will get to trade it in towards new gear when the kids need longer skis/bigger boots.
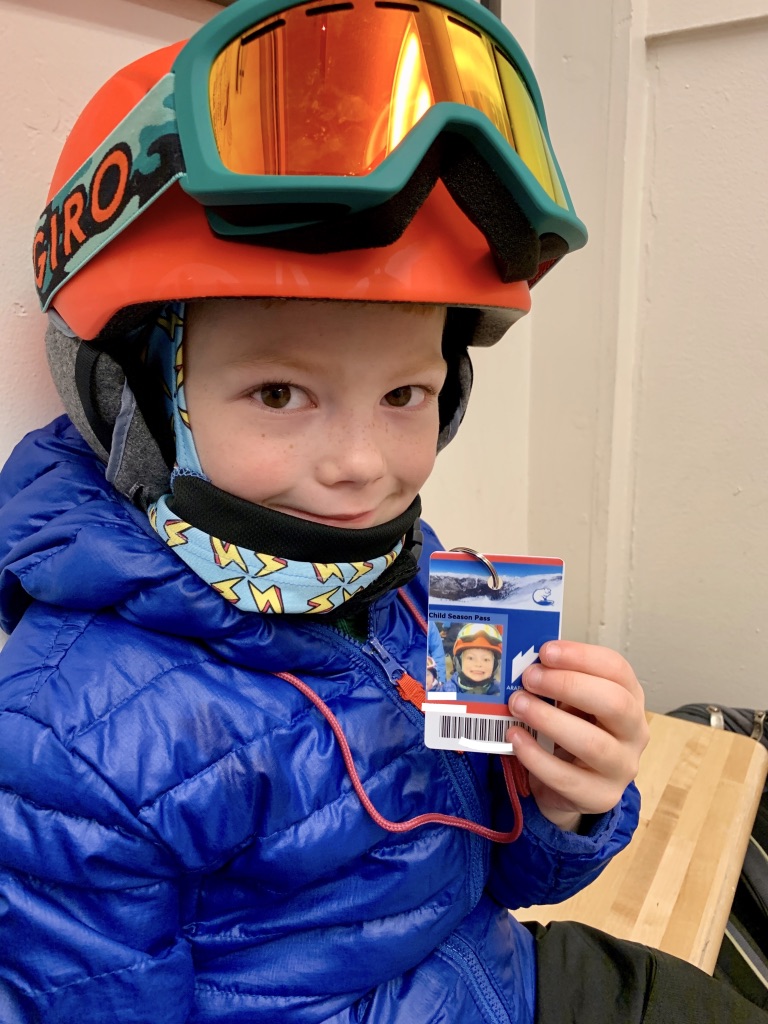
  • Helmets: Giro kids ski helmets purchased at Epic Mountain Gear.
  • Goggles: Giro kids ski goggles purchased at Epic Mountain Gear.
  • Head/neck covering: Turtle Fur Lightweight Ninja Balaclava purchased at Epic Mountain Gear.
    • I’m sure you’re asking, “What is a balaclava?” Just the absolute, most perfect item to go under a helmet without being too bulky and cover the neck/chin without being too hot. They come in a ton of fun patterns and my kids really enjoyed picking out exactly the pattern they wanted. I liked the kids’ so much that I wound up buying an adult sized balaclava myself and now I will not ski without it.

Clothes: Mainly from Primary.com

I love primary.com because the clothes are soft, tag-less, and the kids love picking out their favorite colors. The clothes mix and match very well and are very good quality, which means I can easily pass them down from one kid to the next. Also, I feel like they are just touch longer in all the right places so the clothes last just a bit longer than average. Get 20% off your primary.com order with promo code PRIMARYMELISSAG71 or here.

  • Base layer pants: PJ Pant (Cozy Sweatpants would work too)
  • Base layer top: Long Sleeve PJ Top
  • Socks: Burton Kids Weekend Midweight Sock purchased at Epic Mountain Gear
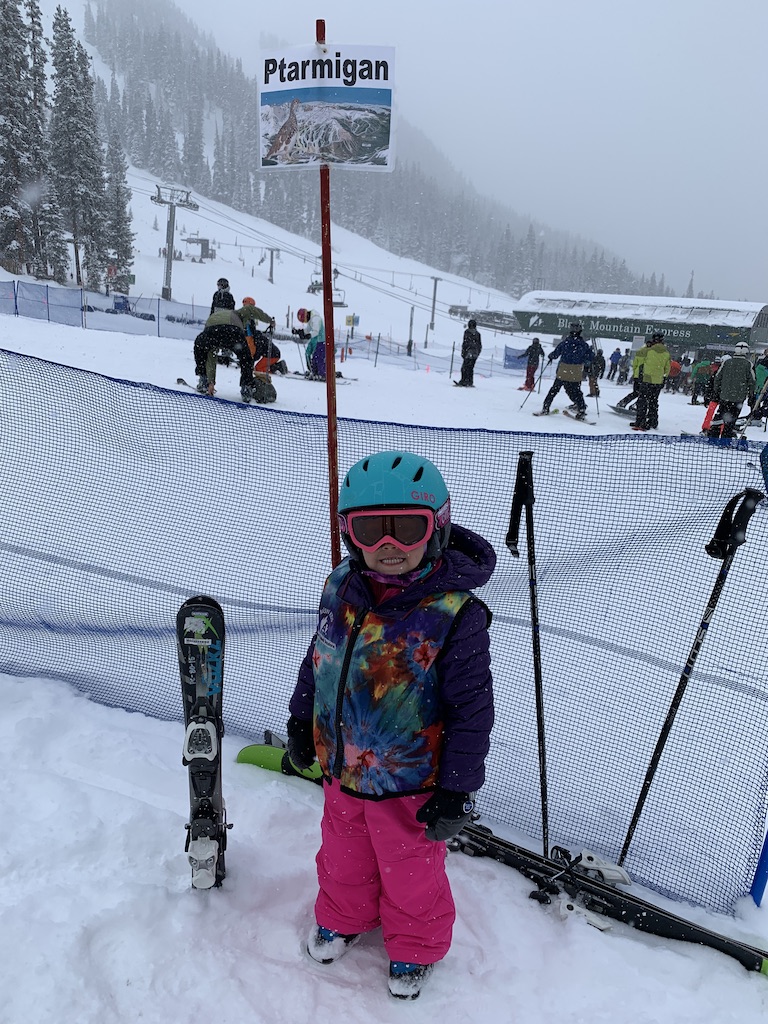
  • Vest: Lightweight Puffer Vest
  • Jackets: Lightweight Puffer Jacket
    • I strongly recommend this lightweight jacket instead of a bigger, bulkier jacket. It has the right amount of warmth and is thin enough that the kids can easily move around in it.
  • Ski pants: Hand-me-downs or VarageSale/Facebook Marketplace finds.
    • This is a great item to look for used because you can find deals that are in great shape or barely worn. I like the overall/bib style for little kids so they don’t get snow up their back when they are rolling around in the snow.
  • Gloves: Chakka Snow Blakka Snow Mittens purchased on Amazon.com.
    • The extra long sleeve on these keeps snow off the wrists. My kids leave these on better compared to other mittens.

We have used this set up many times now and it has worked very, very well. We have not heard any complaints from the kids about being too cold or too hot and they have happily skied even in really cold weather with lots of snow coming down.

Again, you can get 20% off your order at primary.com the following ways:

  1. Use PROMO CODE: PRIMARYMELISSAG71
  2. Follow this link: https://primary.com/r/primarymelissag71

I hope this helps you put together cozy ski outfits for your little ones!

Happy skiing!

Mel

Skiing while the kids are in Kids Club. That is my balaclava.

Mama G’s Crock Pot Chili and Green Chile Cornbread

Fall is one of my favorite times of year. The air is cooler, the leaves are changing and hopefully my Kansas City Chiefs and CU Buffs are doing well on the field. Plus there are all the things I love to cook this season.

Chili is definitely something we have at least a few times a month October through the end of winter. This recipe is a blend of my mom’s recipe that I grew up on plus some additions that give it a Colorado touch (i.e. diced green chile peppers).

The final product

Ingredients:

  • 1 lb ground beef
  • 2 red peppers, diced
  • 1 large yellow onion, diced
  • 1 package chili seasoning (Williams seasoning is my favorite but it isn’t available in Colorado. Here is hoping I now have a few packets in my stocking when we go back to Kansas City for Christmas!)
  • 1 15 oz can black beans, drained
  • 1 30 oz can of chili beans
  • 1 14.5 oz can fire roasted diced tomatoes
  • 1-2 4 oz cans diced green chile peppers or 4-8 oz of fresh roasted peppers (I would use the hot version if cooking for adults and the mild version if cooking for kids.)
All easy to find ingredients.

Optional add-ins:

  • 1 lb ground pork (I like to add an extra pound of meat when I am serving a crowd)
  • 2 sweet potatoes, peeled and diced (This is a great way to sneak some additional veggies in.)

Toppings:

  • Sour cream
  • Diced green onions/scallions
  • Cheddar cheese
  • Saltine crackers

Recipe:

  1. Brown meat(s)
  2. While meat is browning, chop vegetables
  3. Drain fat off of meat(s) if needed
  4. Add chili seasoning to drained meat and cook for a couple of minutes
  5. If the bottom of the pan gets crusty, add a little water or beer if you have a can open to deglaze the pan (You want all the seasoning making it into the crock pot, not sticking to the pan.)
  6. Scrape meat and seasoning into crock pot
  7. Add all vegetables to crock pot
  8. Add all canned items to crock pot
  9. Stir
  10. Cook on low for 8 hours
  11. Serve with toppings in bowls for people to add what they like

And yes, I know my crock pot is hideous. See my crock pot chicken recipe for the explanation of why I keep it around.

Serving suggestion:

I like to have cornbread with my chili. My favorite brand is Krusteaz and their Honey Cornbread and Muffin mix is very, very good.

Definitely my favorite cornbread mix.

I typically mix the box following their directions and spoon out a couple of muffins worth into a muffin pan (these will be for the kids). Then I add a can or fresh green chiles to the mix and spoon out the rest of the batter into the muffin pan (these are for the adults). For those at high altitude, make sure to follow the high altitude instructions of adding a bit more milk and flour.

Now add some football and a cool night and you have a perfect fall evening meal!

Happy cooking!

Mel

Kid Gift Idea: Library bag with library card tags

Ladybug and Bear’s library bags with library cards attached.

We are incredibly lucky to have a fantastic library branch in our county (Douglas County Libraries). They offer a summer reading program with lots of incentives to encourage kids to read more over the summer and all of their facilities are kid-friendly, cool spaces to beat the heat on super hot days.

While I absolutely love having library books in my house, I’m one of those people who doesn’t like the library books mingling with our own books. I live in constant fear of losing a library book for really no reason. When my mom gave the kids some new canvas bags we decided to use them as new library book bags but wanted to get the kids a bit more excited than they have been about previous bags.

I had them sign up for their first library cards and the summer reading program on the same day. A quick hole punch and a key ring let me attach the cards to the bags for safe keeping.

Now the kids keep their library books in the bags and usually have them hanging from their bed. When we go to the library they can use them to carry the books they want to check out. When it comes time to check out, they have their library cards handy and can easily check out their books by themselves. Our library has a pretty cool check out system where they literally can just place their bags on the check out desk and the system will know which books they have.

They have really loved being able to do the check out process themselves. I have loved having a dedicated spot for the books and not having library cards floating around.

This would be a great Easter basket gift or special outing for the start of summer. I hope you are having a great summer!

Mel

One pan dinner: Ginger-Hoisin Chicken Thighs and Veggies

The other night I was planning on grilling my Chicken and Rainbow Veggies but a windy rainstorm thwarted my grilling plans. I pulled a quick switch to a one pan dinner. What really makes this meal is the grated fresh ginger. You can read about how I easily always have ginger on hand here. It is really easy to grate when it is frozen.

Ginger-Hoisin Chicken prior to going in the oven.

Ingredients:

  • 4-6 chicken thighs
  • 1 cup broccoli (florets cut from crown)
  • 1 cup carrots (cut in long pieces)
  • 2 small or 1 large zucchini (cut into half-moon chunks)
  • 1 cup snap or snow peas (with ends trimmed)
  • 1 Tablespoon garlic (minced)
  • 2 Tablespoons ginger (grated)
  • 1/4 cup prepared Hoisin sauce
  • Drizzle of olive oil
  • Salt and pepper

Optional add-ins: Red or other bell peppers, bok choy, or other vegetables you have on hand.

Recipe:

  1. Pre-heat oven to 400 degrees.
  2. Chop all vegetables
  3. Mix chicken thighs, vegetables, and garlic in an oven-safe pan with hoisin sauce, drizzle of olive, and salt/pepper to taste.
  4. Push the chicken thighs to the bottom of the pan.
  5. Grate the ginger over the top of the chicken and veggies making sure each items gets a little bit of ginger.
  6. Cook for 25-30 minutes.
  7. Serve over steamed rice or alone. Red chili paste and soy sauce make good condiments.
Baking just 25 minutes leaves the veggies with a bit of crispness still left, which is the way we like them in our house.

This is a great way to get a variety of veggies in front of my family quickly and I hope it works for your family as well.

Happy cooking!

Mel

Someone else’s great idea: Strawberry-Watermelon Lemonade Popsicles

Making popsicles was on our summer to do list. One off day when I happened to have a watermelon on hand I went searching for a watermelon popsicle recipe. I found this gem: Strawberry Watermelon Ice Pops from Super Healthy Kids.

To make them just a little extra lemony, I zested the lemon prior to using the juice and put all of the zest in the mix.

I poured the mix in the kids’ popsicle freezer molds and had a little bit extra left over. I poured the remaining mix in an ice cube tray and stuck some popsicle sticks in. Now we have some mini popsicles on hand as little treats that have been perfect for after dinner. And enjoyed by kids and parents alike.

There was a little extra leftover after that so I decided to go ahead and freeze in it a plastic cup for thawing later. I’m thinking on our next pool day I’ll be blending that with some rum for a quick daiquiri. Moms need treats too.

Happy cooking!

Mel

Snow Day Pancakes

We have a bit of a blizzard happening today in Colorado. Schools are closed, my patients are rescheduled, and we will be snuggling inside all day. Instead of our typically rushed morning we got to stay in our pajamas and ease into the day. We made pancakes and I finished off an entire pot of coffee. So today I thought I would share my favorite pancake recipe.

My recipe is based on this recipe here with a couple of additions of my own. Because I think cinnamon and vanilla extract make all things breakfast even better.  I also like to keep my cooked pancakes in the oven until they are all ready so we can all eat together once everything is cooked. This also helps if the pancakes are not entirely cooked through in the middle. The middle will cook through as the pancakes stay warm in the oven.

Ingredients:

  • Dry ingredients:
    • 2 cups flour
    • 2 Tablespoons baking powder
    • 1/4 teaspoon salt
    • 1/2 teaspoon cinnamon
  • Wet ingredients:
    • 2 cups buttermilk (or buttermilk substitute)
    • 2 eggs
    • 2 Tablespoons vegetable oil
    • 1 Tablespoon vanilla extract

Recipe:

  1. Preheat oven to 250 degrees and put in a cookie sheet
  2. Preheat griddle or non-stick fry pan
  3. Whisk dry ingredients in large bowl
  4. Whisk wet ingredients in second large bowl
  5. Push the dry ingredients to the side of the bowl and pour the wet ingredients on the other side
  6. Mix the wet and the dry ingredients until batter comes together
  7. Let the batter sit for 5 minutes (do not remix)
  8. Scoop 1/2 to 1 cup of batter onto a hot griddle or fry pan
  9. Flip when bubbles break the surface
  10. When golden brown on both sides, put the pancake on the cookie sheet in the warm oven
  11. Once all the pancakes are done, serve with butter and real maple syrup

Tip: We use real maple syrup in our house because of the not so great ingredients in most pancake syrups. Yes, it is more expensive but it has a stronger flavor so you use less of it. If you have not used real maple syrup regularly before, start with the lightest you can find (Grade A Light Amber) because it will have a more delicate taste.

Snow days mean slow mornings with pancakes and coffee.

I hope you enjoy these pancakes on your own snow day or a weekend sometime soon!

Happy cooking!

Mel

Mama G’s Apple Pie

Fall coming around always makes me excited for several reasons:  Cute layered outfits, boots, Chiefs football, Buffs football, and baking anything and everything.  This year we had another thing to be excited about: apples.IMG_6976

We planted an apple tree a couple of years ago and this was the first year I was supposed to leave a few of the flowers so fruit could actually grow.  The lovely folks at my favorite garden center told me to pick 100% the flowers the first spring, 75% the second spring, 50% the third and so on.  The reason for this is so that the tree can use its energy to put down solid roots instead of growing fruit.  Even after picking 75% of the flowers off this year we had gobs of apples!  This means that I have been able to work on my apple pie recipe…

IMG_3876
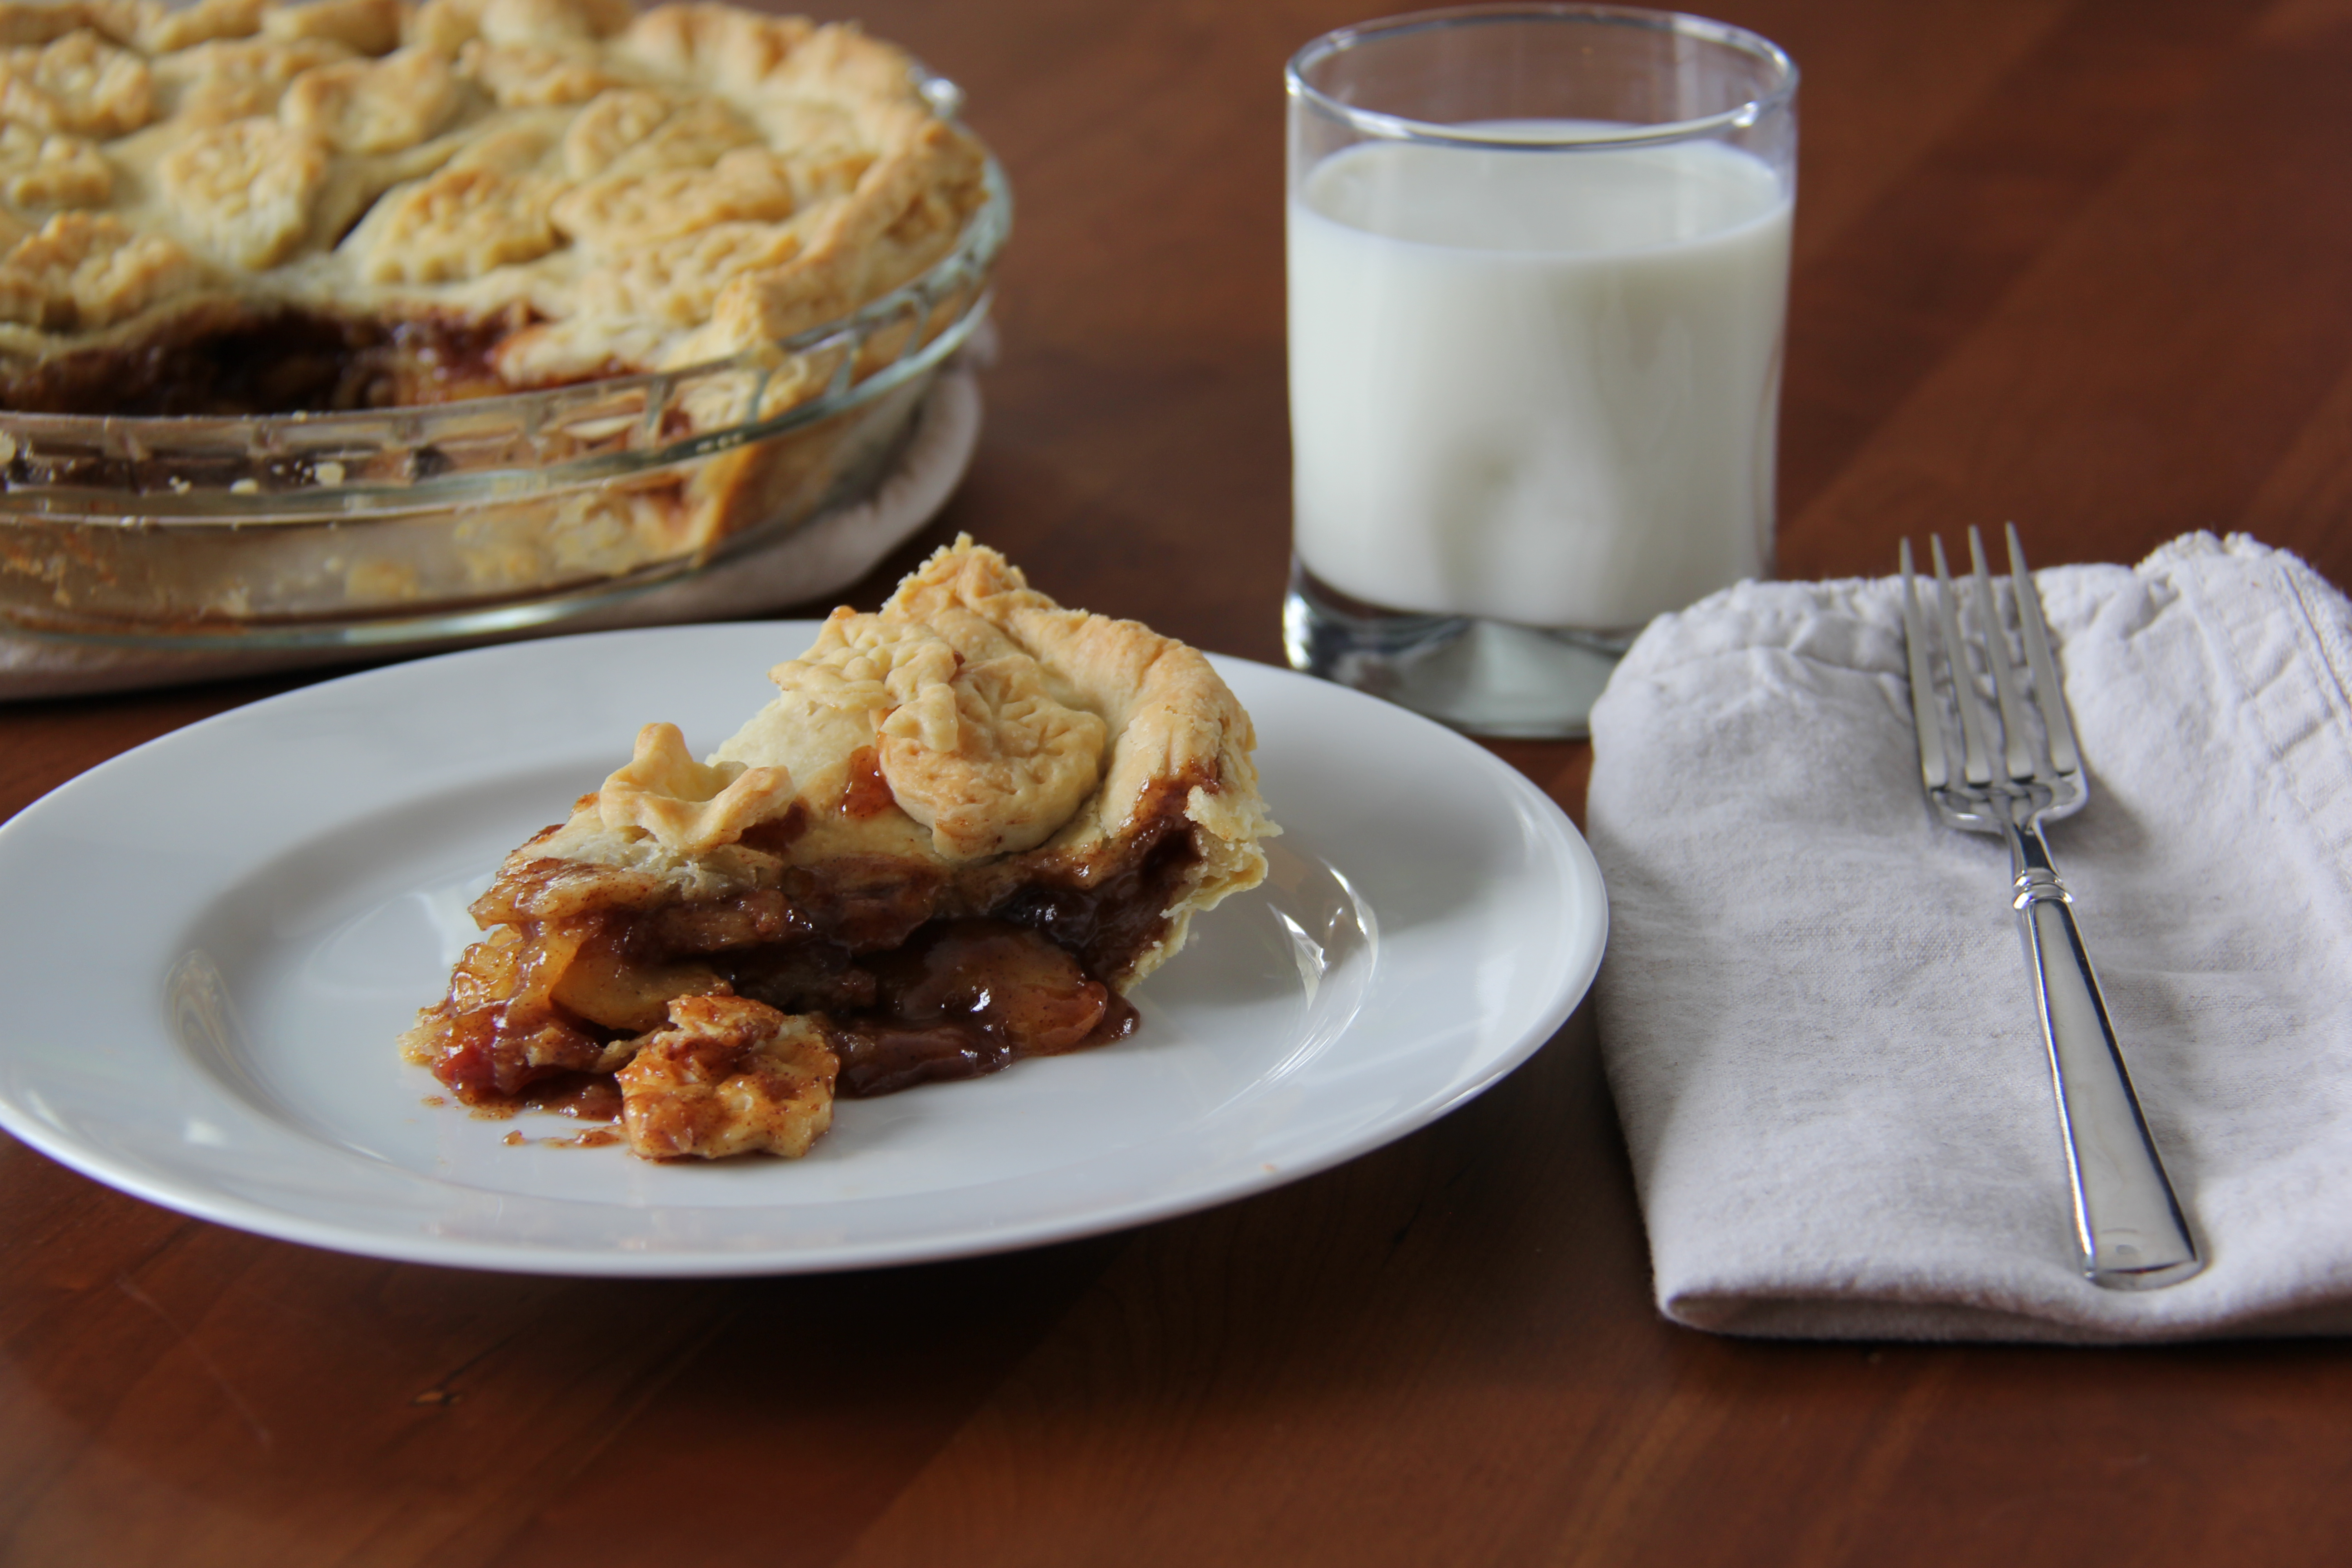
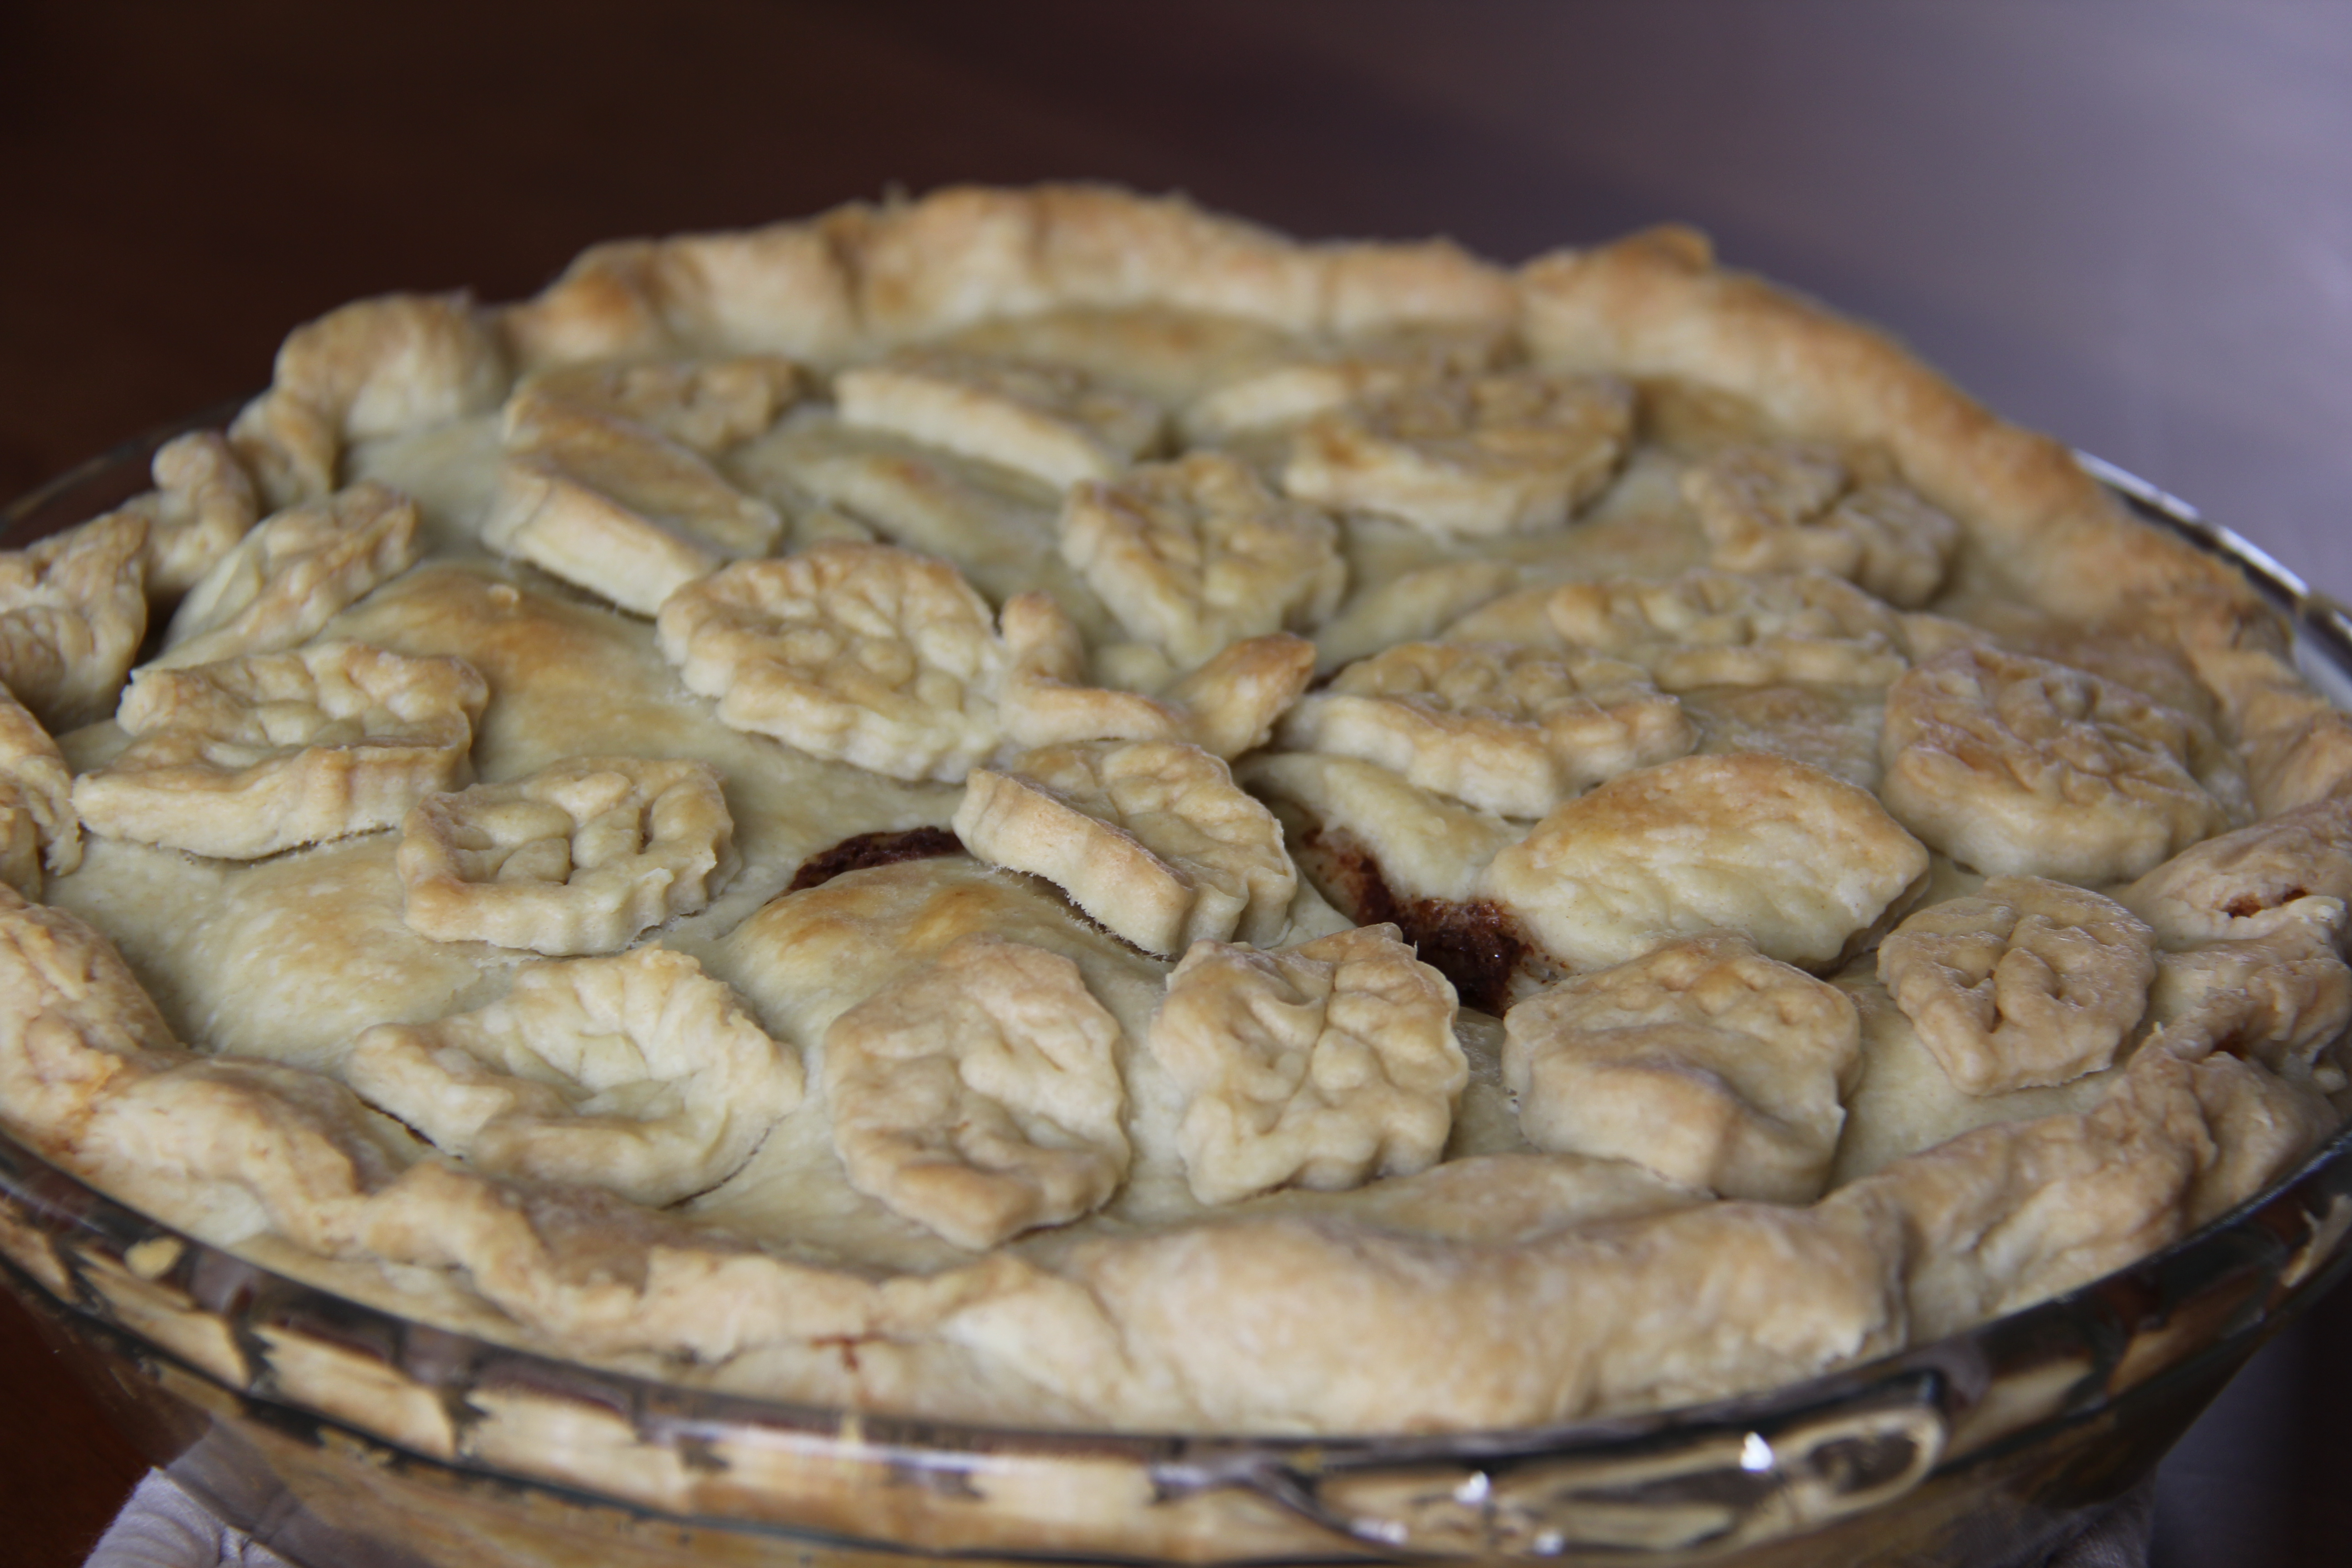
I like a classic, flaky crust that is not too thick and an apple mixture that has a good amount of spice to it.  I also like the apples to be cut nice and thin so that they stack up together and stay in place while you are enjoying a slice.  Random thing that drives me crazy: When you take a bite of pie and the giant apple quarter comes out in one piece with the crust just collapsing on everything.  I want the perfect combo of apple and crust in every bite.

When it comes to crust, I do not think you can beat the King Arthur Flour Recipes:

Double Crust Recipe here.

Single Crust Recipe here.

I use the double crust recipe for this pie.  My kids love helping with the “squishy part” which is what they call squeezing the shortening and butter into the flour.  For my fellow Coloradans and others at high altitude/dry climates: I find myself adding much more water to this recipe than what is called for.  Just keep adding a tablespoon at a time until it all comes together without being sticky.

IMG_3835
Yes, we sometimes bake in PJs and dress up attire.

Now for the apples…IMG_3840

Ingredients:

  • 5-6 apples depending on size
  • 1 Tablespoon cinnamon
  • 1/8 teaspoon ground cloves
  • 1/2 teaspoon ground ginger
  • 1/2 teaspoon ground nutmeg
  • 1 cup sugar
  • 1/4 cup flour

This slideshow requires JavaScript.

Recipe:

  1. Make the crusts first as directed in the recipe above, wrap them with plastic wrap, and put them in the fridge to cool.
  2. Preheat oven to 425 degrees.
  3. Peel, core, and thinly slice the apples.  I like to use my apple corer/peeler/slicer to do this all in one step.
  4. Cut the apples in half.  Apples come off my corer/peeler/slicer looking like a whole apple.  A quick slice from top to bottom makes perfect thin slices.
  5. Mix the apples, spices, sugar, and flour in a bowl.
  6. Roll out your pie crusts and put one in the pie dish.  I like to use a silicon mat and plastic wrap to make this easy and to keep the dough from sticking to the counter or rolling pin.
  7. Paint the first crust with an egg white.  This keeps the bottom from getting soggy.
  8. Dump the apple mix in the pie crust and push the apples around to make sure there are not any empty pockets.IMG_3862
  9. Top the apple mix with the next pie crust.
  10. Seal the edges of the crust.
  11. Cut a few slits in the top crust.  I like to top my pies with a few crust cut outs and the kids really enjoy helping with this part.  You could use small cookie cutters but I love these little crust stampers.

  12. Cover the pie completely with foil.
  13. Bake for 30 minutes then turn temperature down to 375 degrees and remove foil.
  14. Bake for 30 minutes uncovered or until crust is golden brown.
  15. Let cool for 5-10 minutes then serve with ice-cream, whipped cream, or just by itself.  Enjoy!

IMG_3886

Happy Cooking!

Mel

Work night dinner: Crock pot chicken

I have not posted in a bit for a variety of reasons.  Summer time for us was filled with lots of pizza at the pool and grilled chicken and whatever veggies and fruit we have while soaking up some time outside.  (I also made this Lemony Orzo dish about 15 times.)  I have a couple of little writing projects going on in my “free time.”  We also did our first driving vacation which included camping in Yellowstone and driving all the way to the Oregon coast and back.

The biggest reason for me not writing was that we also started having sports and other activities in the evenings after pre-school and pre-K for Ladybug and Bear.  This has added an extra layer of complication for a working mom: how do you get dinner on the table by 7 pm when you are gone from 7:30 am to 6:45 pm?

My solution: CROCK POT CHICKEN

Confession:  My crock pot it hideous.  It is literally the crock pot MY PARENTS registered for before their wedding.  BUT, it works and has a great low setting that truly is low where some of the newer models I have tried and returned are just too hot at that setting.  My parents joke that they are going to steal it back one day because they miss it.  And yes, I have heard about the crock pot in This Is Us but really that was the towel’s fault, not the crock pot.  Right?  One day, I will upgrade but until this gem kicks the bucket, I think I’m good.

IMG_7268
1980’s finest.

Crock Pot Chicken has become the Tuesday regular at our house.  Throw a few chicken breasts and other odds and ends you have on hand in the crock.  Turn it on in the morning and when you walk in at dinner time, dinner is basically ready.  Here is the basic recipe and I will give you some different variations to try as well:

The night before:

  1. Set 3-4 chicken breasts out to thaw.
  2. Set crock pot out and put two cups of liquid in.
  3. Add any additional ingredients, seasonings, and salt and pepper.
  4. Cover the crock with the lid.

In the morning, put chicken in the crock, cover, and turn on low.

When you get home:

  1. Take the chicken out of the crock pot and put on a plate to cool.
  2. Get dinner fixings ready.
  3. Shred chicken and serve.

Keep in mind that these recipes can easily be made Whole 30 compliant if you just use approved ingredients. Leaving out the cheese and using lettuce cups instead of bread or tortillas are very easy ways to make these meals compliant.

Our favorite variations:

Chicken Salads:  For the liquid, use 1 cup water or chicken broth and 1 cup Italian dressing.  Cook all day.  Shred and serve with greens, carrots, other veggies, and croutons.

img_7714.jpg

KID TIP:  YES, my kids eat salads.  And yours can too.  Start by putting a small amount of salad on their plate (think one piece of everything in the salad) and a little bit of a dressing they like (like Ranch) on the side.  Even if they do not eat it much or any of it at first, they will get used to seeing it on their plate.  Gradually, you can ask them to try a bite and eventually increase the amount on their plate.  See my thoughts on creating fabulous little eaters here.

Chicken Tacos:  For the liquid, use 1 cup water or chicken broth and 1 cup orange juice.  Add 1 Tablespoon of chili powder and 1 teaspoon of cinnamon.  If you have an orange, cut it in slices and add the slices to the crock on top of the chicken.  Cook all day.  Shred and serve with hard shells, tortillas, or lettuce cups; shredded cheese; sour cream; and other taco fixings.

IMG_7759

Chicken Nachos:  Cook as above for Chicken Tacos.  When you get home, pre-heat oven to bake at 400 degrees.  Shred chicken.  On a large, oven safe baking dish, layer tortilla chips, shredded cheese, shredded chicken, and various toppings (diced green chilies, sliced jalapeños, black beans, etc).  Bake for 10 minutes.  Add an additional layer of shredded cheese and broil for 3 minutes.  Top with diced avocado, diced tomatoes, sour cream, etc.

Chicken, Rice, and Veggies: For the liquid, use 1 cup water or chicken broth and 1 cup Italian dressing.  Add chopped carrots, onions, celery, and/or other veggies.  Cook all day. Shred the chicken and put it back in the crock with the liquid and veggies.  Microwave some instant rice and separate it into bowls.  Spoon the chicken, veggie, and sauce mixture over the rice and serve.

IMG_7581

Barbecue Chicken Sandwiches: For the liquid, use 1 cup water or chicken broth and 1 cup of your favorite BBQ sauce.  Cook all day.  Serve on buns with a side salad or steamed veggies.

Curry Chicken:  For the liquid, use a pre-made curry sauce and add a little water, if needed, to get 2 cups.  Add chopped carrots and onions.  Cook all day.  Add 1 cup of frozen peas to the mix when you get home.  Microwave some instant rice and separate it into bowls.  Shred the chicken and add it back to the mix.  Spoon over the rice and serve.

Chicken Salad Sandwiches or Lettuce Wraps: For the liquid, use water or chicken stock and cook chicken the day or night before you need it.  Put the cooked kitchen breasts in the fridge.  Shred the chicken when you get home and mix with the following: 3 stalks celery (diced), 1 cup dried cranberries, 1-2 cups red grapes (halved), 1 cup walnuts or pecans (chopped), 2 Tablespoons lemon juice, and 1 1/2 cups mayo.  Serve on lettuce wraps or toast.

I hope this gives you something to have in the rotation for those nights when you have no time but you still want to get something healthy and good on the table.  It isn’t fancy, but it does the trick!

Happy Cooking!

Mel

Grilled Chicken with Rainbow Veggies

I always look forward to grilling season so I have an excuse to do two of my favorite things together: 1) get outside and 2) cook.  I use our propane grill for dinner at least a few times a week once the weather is warm.  Now I know there are some purists who think propane grills aren’t the real deal and swear by charcoal.  For me, charcoal grilling is for weekends and special occasions.  My propane grill works just fine when I have 30 minutes to get dinner on the table!

This recipe is a favorite of mine because it can be made any number of ways simply by changing the seasoning/sauce and or the veggies.  I often use this as a clean out the fridge dinner to use whatever small amounts of various fresh items I have leftover from the week.  My kids like the name and it encourages them to “eat the rainbow” of different items on their plates.

I often try to sneak a little fruit in here too (either pineapple or peaches).  Grilled fruit just feels like summer to me and sneaking some sweet bites into any recipe will always be a winner with kids.  KID TIP:  “Accidentally” only get one piece of fruit in the scoop of veggies and fruit you give your kids.  When they of course eat that first and ask for more, tell them you’ll give them another piece of fruit when they eat one of each of the other colors in the rainbow.  This encourages them to try different things and makes sure they aren’t only eating the sweet bits.

Grilled Chicken and Rainbow Veggies
Ingredients:
  • 3-4 chicken breasts
  • 1 red (purple) onion, cut into large chunks
  • 1 cup carrots, cut into large chunks
  • 1 red pepper, cut into large chunks
  • 1 cup fresh pineapple, cut into large chunks
  • Drizzle of olive oil
  • Seasoning mix or sauce of your choice for veggies and meat
  • Salt & pepper

Ingredients above are for the night pictured.  I normally would love to have some green in there and zucchini would be my go-to but I didn’t have any on hand for this night.

Other ingredients you can use:

  • 1 yellow onion, cut into large chunks
  • 1 yellow or green zucchini, cut into large chunks
  • 2 broccoli heads, cut into individual florets
  • 1 yellow or orange pepper, cut into large chunks
  • 2 peaches, peeled and sliced
  • Really just about any veggie that you can cut into a big chunk will work!  Just rummage around your fridge and get all the one off fresh ingredients you have.

Seasoning or sauce mix ideas:

  • Anything that smells good to you from your local spice shop!
  • Blackened seasoning
  • Garlic salt
  • Barbecue rub
  • Barbecue sauce (chicken)
  • Italian dressing (chicken or veggies)
Instructions
1. Get the kids outside and tell them they can come in when dinner is ready.
2. Open a cool beverage of your choice.  You’ll need something to enjoy while you’re in front of the grill.
3. Preheat grill to medium high.  Have your grill vegetable tray on there so it can get sizzling hot as well.  The tray I use is similar to this one.IMG_3373
4. Prepare chicken breasts.  My preferred method is to put the chicken breasts, a drizzle of olive oil, salt, pepper, and 1-2 tablespoons of seasoning mix in a gallon size ziplock bag then beat the chicken to about 3/4 inch think with the back of a ladle.  (You can watch me and my kids do this here.  Seriously, every time my kids see me with a bag of chicken and a ladle, they go and get theirs to “help.”)  For the night pictured, I used a Cajun Blackened mix for the chicken.
IMG_3370
5. Massage the seasoning and oil mix all over the chicken to make sure every little nook and cranny is covered.
6. Prepare the veggies and fruit.  Cut all the veggies and fruit into large chunks and throw them in a bowl.IMG_3372
7. Add a drizzle of olive oil, salt, pepper, and 1 tablespoon of seasoning mix.  For the night pictured, I used a simple garlic salt mixture for the veggies and fruit and didn’t add any extra salt.  Since the blackened seasoning was pretty strong, I didn’t want to use it on both the chicken and the veggies.  If you have a favorite mix that is pretty potent, try using that on the chicken and then something simpler/milder on the veggies/fruit.
8. Mix the veggies and fruit.
9. Bring your meat, veggies/fruit, and cool beverage to the now perfectly sizzling grill.
10. Throw the chicken one one side and the veggies/fruit in the tray on the other.
IMG_3376
11. Flip the chicken once it easily releases from the grill (usually 5 minutes).  This really varies based on the temperature of your grill.
12. Stir the veggies/fruit when you flip the chicken.  Do not over stir!  You want there to be grill marks.
13. Take the chicken off after the other side easily releases from the grill (again about 5 minutes) and put on a large serving tray.
IMG_3380
14. Let the chicken rest while the veggies get to your desired level of doneness (for us, just an additional minute or two).
IMG_3381
15. Scoop the veggies and fruit on top and around the chicken.
IMG_3384
16. Call the kids in and serve.
IMG_3387
Details

Prep time: Cook time: Total time: Yield: 4-5 servings

I hope you enjoy your time outside by your grill, cool beverage in hand!

Happy cooking!

How to always have fresh ginger on hand and easy to use

When I was first starting to cook, I would often skip over recipes I saw that called for fresh ginger.  It felt like something I never had on hand and something I didn’t want to commit to a whole chunk of because I could never use it all.  Yes, I finally realized I could freeze ginger for later but just throwing the whole root in a freezer bag meant I had to thaw the whole root or saw off the chunk I needed which didn’t work well.

The time I put a little effort in up front to peel and cut the ginger into useable chunks was a real game changer.  And now I LOVE recipes that call for fresh ginger because I know I can just run to the freeze and grab the exact amount I need whenever I need it.

Here is what you’ll need:

  • Big hunk of ginger
  • Knife
  • Cutting board
  • Peeler
  • Plastic freezer bag

IMG_3211

Here is what you do:

  1. Peel the ginger completely
  2. Cut the ginger into “coins” (1-2 Tablespoon sized pieces)
  3. Label plastic bag with date
  4. Put sliced ginger in bag
  5. Put bag in freezer where it can be flat with ginger pieces as separated as possible
  6. When frozen, move bag to more convenient spot in freezer
  7. Open the bag and grab the amount you need whenever a recipe calls for fresh ginger (frozen ginger is really easy to grate or mince)
  8. Seal bag and place it back in the freezer

So if you’re skipping over recipes with fresh ginger like I was (or have an unpeeled ginger root in your freezer right now) give this a whirl and see if it works for you!

Happy cooking!

Mel